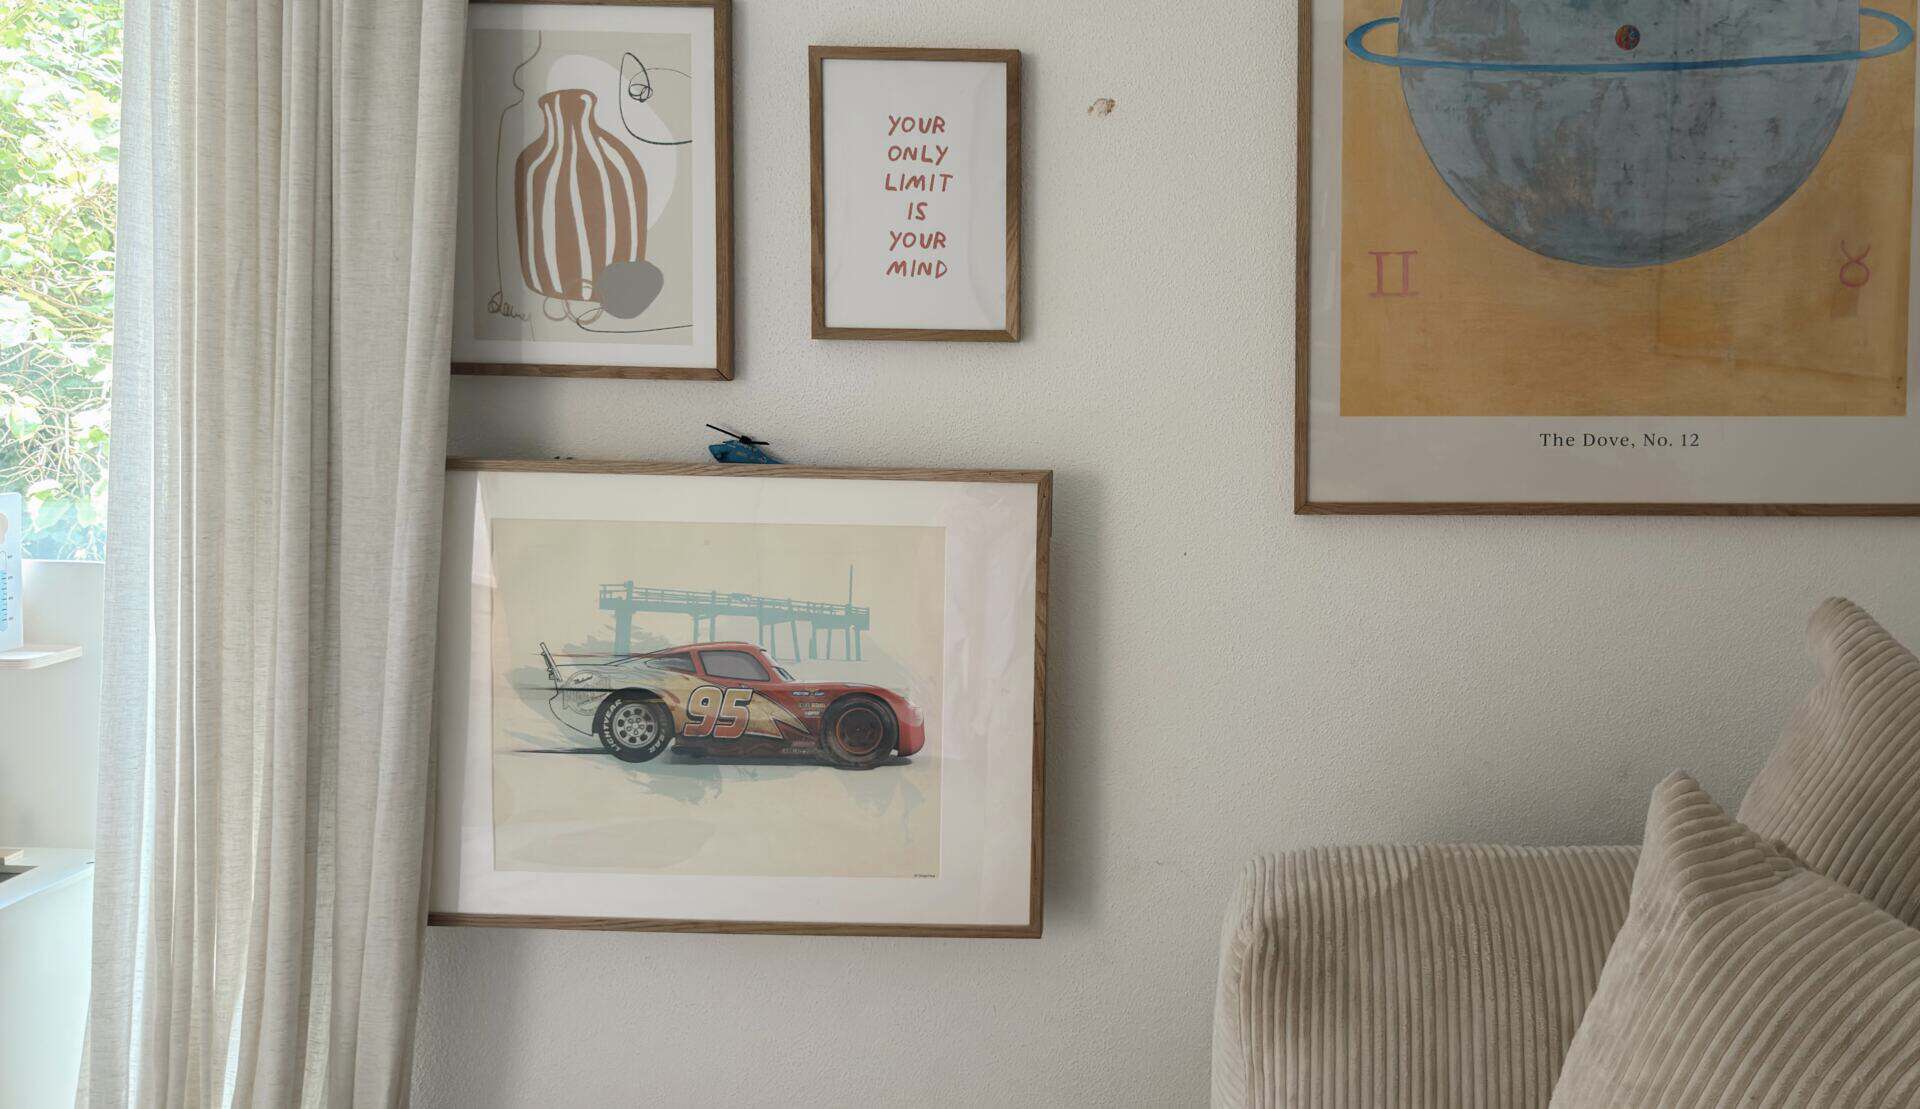
What You’ll Need
You can find the complete materials list here:
-
1 solid oak picture frame, 70 × 50 cm
- display case
-
1 poplar plywood panel, 70 × 50 cm
-
4 adjustable mounting brackets for attaching the shelf to the wall
-
M3 × 25 and M3 × 15 countersunk screws, including nuts and washers
-
3 × 15 mm chipboard screws
-
1 mm and 3 mm wood drill bits
-
Additional wall plugs, screws and a suitable drill bit for mounting the garage to the wall
Tools
-
Cordless screwdriver or drill
-
Phillips screwdriver
-
Measuring tape or ruler
-
Pencil
-
Spirit level
-
Wrench or pliers for the M3 nuts
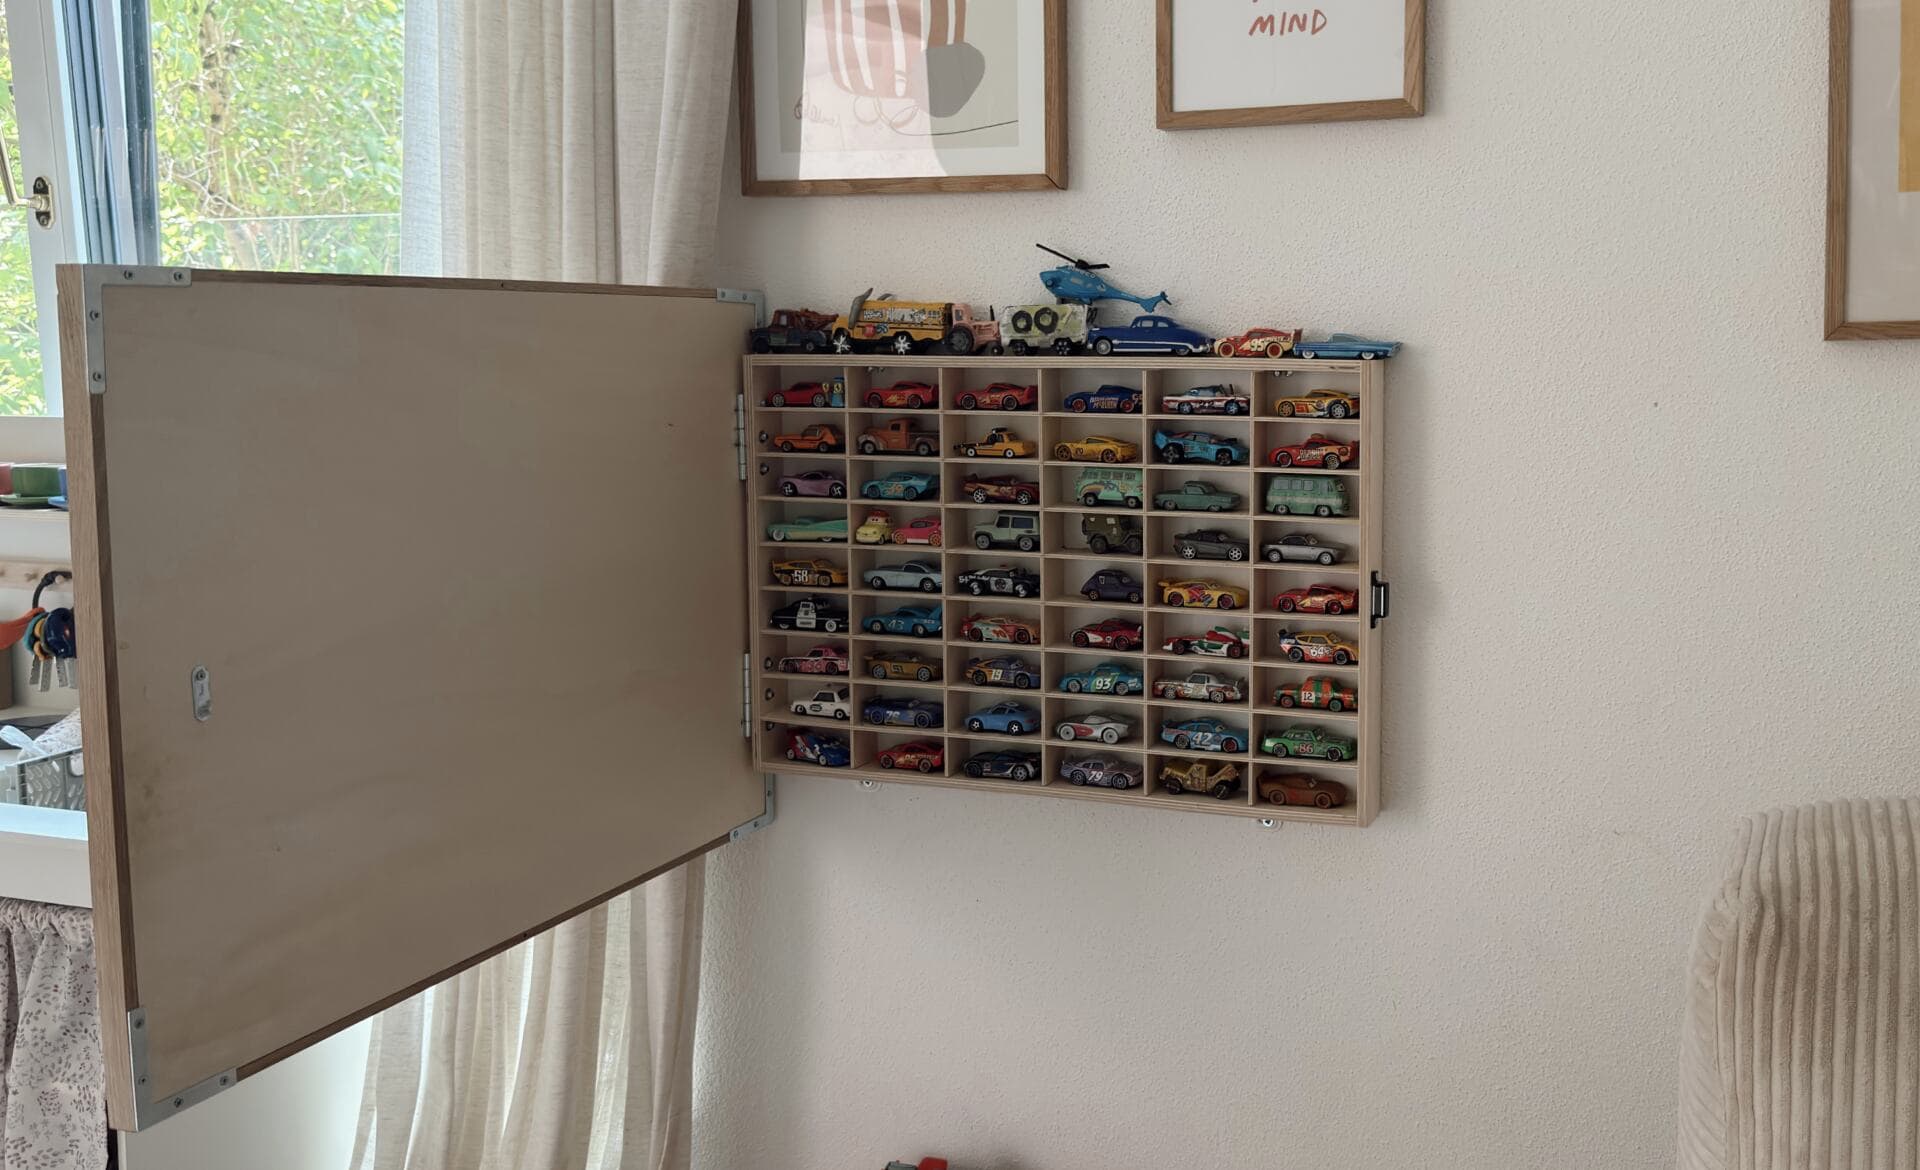
Instructions
1. Place the Plywood Panel Inside the Frame
Place the poplar plywood panel inside the picture frame.
Check that the panel sits neatly and securely inside the frame.
2. Decide Where to Position the Display Shelf
Place the display shelf on top of the plywood panel.
Position it so that the picture frame will still be able to open fully once everything is assembled.
Make sure the display shelf sits far enough away from the opening side. Otherwise, the frame may be blocked when you try to open it.
3. Position the Hinges
Place both hinges in the correct position between the display shelf and the plywood panel.
Mark the drill holes with a pencil.
4. Pre-Drill the Holes for the Hinges
Pre-drill the marked holes in the plywood panel using the 3 mm wood drill bit.
Where necessary, pre-drill smaller screw holes in the wood using the 1 mm drill bit.
Pre-drilling helps prevent the wood from cracking and makes assembly easier.
5. Attach the Hinges to the Plywood Panel
Attach the hinges to the plywood panel using the M3 × 25 countersunk screws.
Secure each screw on the back with a washer and nut.
6. Transfer the Drill Holes to the Display Shelf
Place the display shelf back onto the plywood panel.
Transfer the hinge positions onto the display shelf and mark the holes.
Pre-drill the holes in the display shelf.
7. Test-Fit the Hinges to the Display Shelf
Temporarily attach the hinges to the display shelf using the screws provided.
Check whether the frame and picture open and close as intended.
Adjust the position slightly if necessary.
8. Remove the Display Shelf Again
Once you have checked that everything works properly, remove the display shelf again.
The back panel and picture frame will be fully assembled first.
9. Connect the Plywood Panel to the Picture Frame
Attach the plywood panel to the back of the picture frame.
Use the four corner brackets to hold the plywood panel securely behind the frame.
10. Attach the Corner Brackets
Pre-drill the screw holes in the wood.
Attach the corner brackets to the frame using the 3 × 15 mm chipboard screws.
Work carefully to prevent the wooden frame from cracking or splitting.
11. Attach the Adjustable Mounting Brackets
Attach two adjustable wall-mounting brackets to the top of the display shelf and two to the bottom.
Pre-drill the holes.
Secure the brackets using the M3 × 15 screws or other suitable screws, nuts and washers.
12. Prepare the Wall Mounting
Mark the positions of the drill holes on the wall.
Drill the holes required to attach the display shelf securely.
13. Mount the Display Shelf to the Wall
Position the display shelf in the desired location and make sure it is level.
Securely attach it to the wall using the adjustable mounting brackets.
14. Connect the Picture Frame to the Display Shelf
Hold the prepared picture frame against the display shelf that is already mounted on the wall.
Attach the hinges to the pre-drilled holes in the display shelf.
15. Final Check
Check that the picture frame opens and closes smoothly.
Make sure all screws and nuts are properly tightened.
Check that both the picture frame and the display shelf are securely mounted.